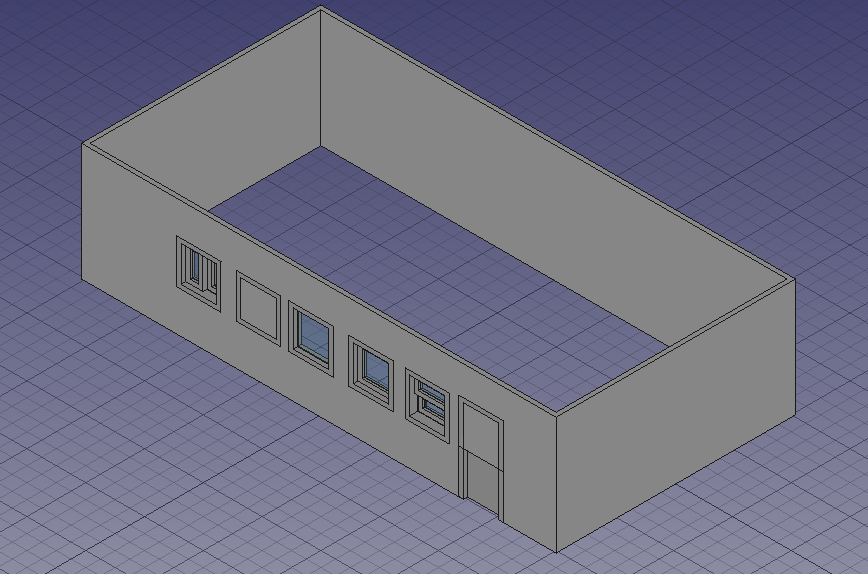
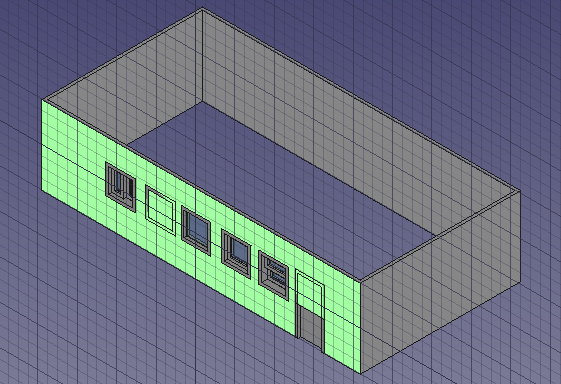
The Arch Window Command adds a Window as a sub-element of a Wall. The Window Command includes functionality for setting the window type, location and size.
Basic Use:
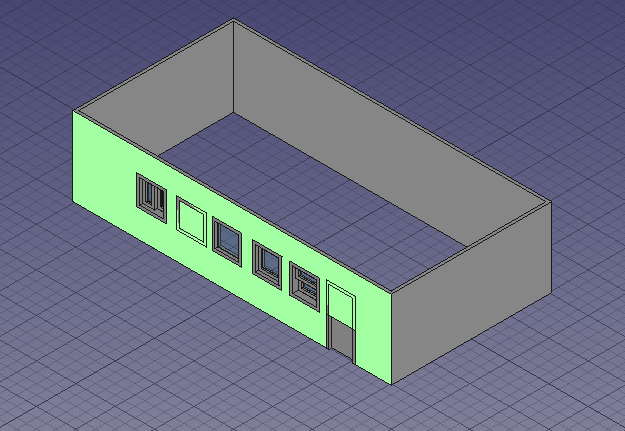
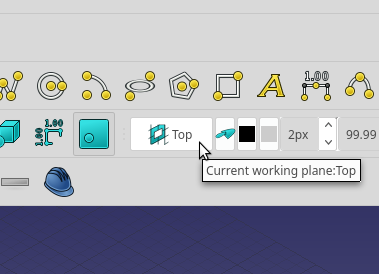
1.) To easily use the Window Command turn on the Draft Grid, select the Exterior Plane of a Wall and set the Draft Working Plane to that surface.
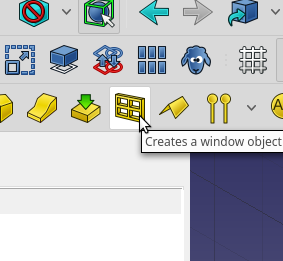
2.) Select the Window Tool Icon from the Toolbar, Drag the window to it’s location. Click to place the Window
While positioning the window Draft Snaps can be used. Also, movement of the window can be restrained by pressing the key corresponding to the Axis with which you want to consrain movement.
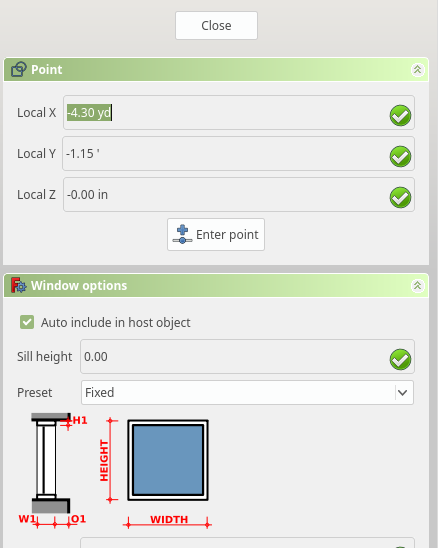
For Example: To move the window on the X-Axis only press the X Key. You will notice the “Point” dialog showing only changes on “Local X”
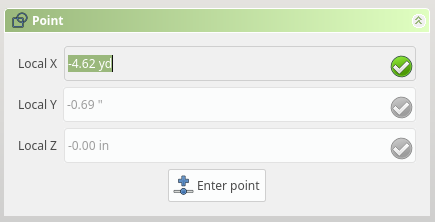
The Grey Check-marks indicate the Y and Z axis are now not active. y
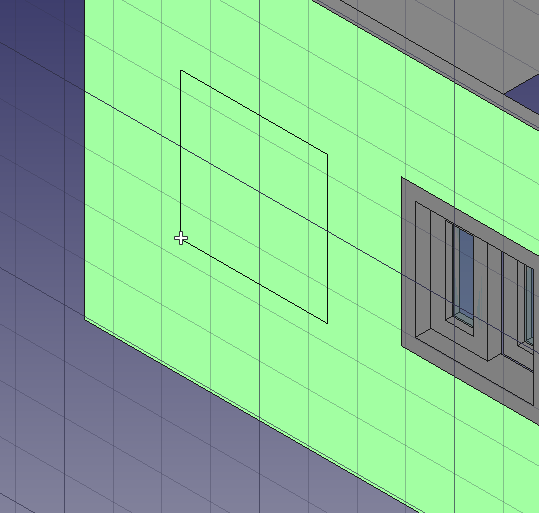
Initial Window Placement
TIP: Use the Draft Snap toolbar to help place the window.
Moving a Window:
To move the window select the “Window” in the history tree. Make certain you select the Window and not one of sub-components.
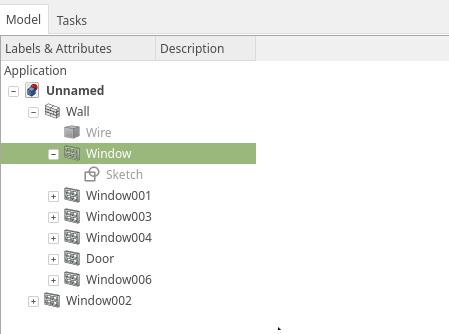
With the window selected active the Move command from the Draft Toolbar and position the window with Draft Snap or direct coordinates.
Window Types
Before placing the window, you can select different window types. This can only be done before the window is placed, it can not be changed later.
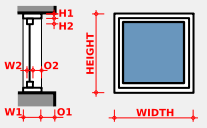 Fixed
Fixed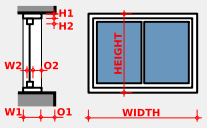 Open 1-Pane
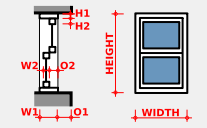 Open 2-Pane
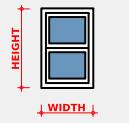 Sash 2-Pane
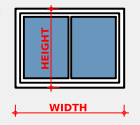 Sliding 2-Pane
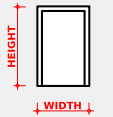 Simple Door
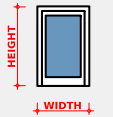 Glass Door
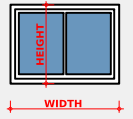 Sliding 4-Pane
Presets
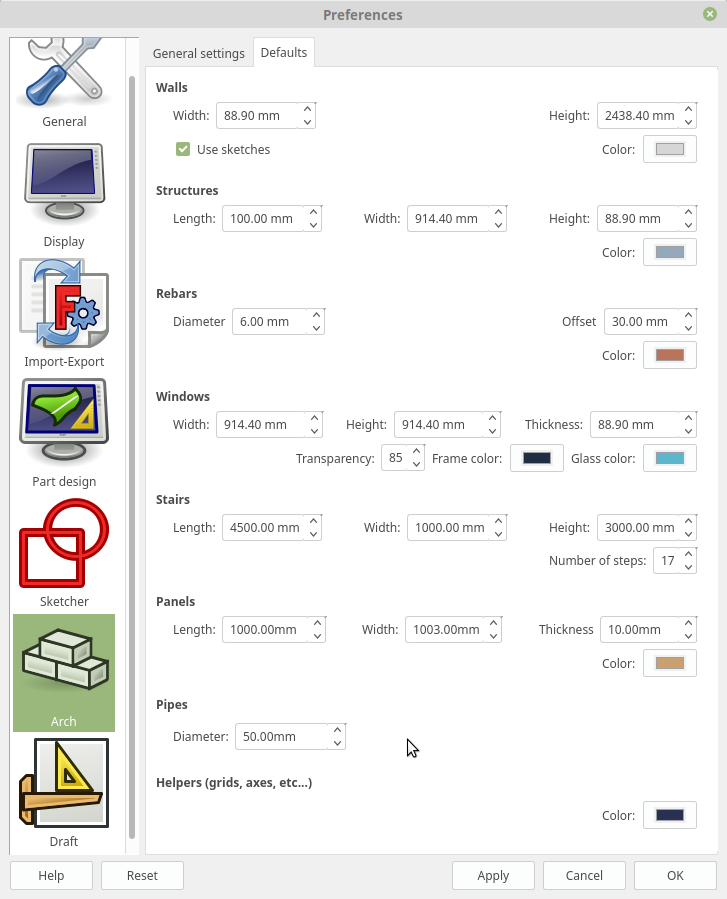
The Arch Workbench has Windows included in the Presets dialog of the Preferences dialog. Unfortunately for those of us still “ruled” by the Imperial system the presets are metric only so you will have to convert manually. Unlike other measurement fields the presets only take metric ( as of publication date )
