How to measure an Angle using the Draft Measure Tool
It can be difficult to determine how to use the Draft measure tool to measure an angle, even after you have read the instructions. Here is how to do it:
Start with a drawing that has two edges that meet to form an angle. They do not need to actually meet, they angle is between the two lines even if thier intersection is projected.
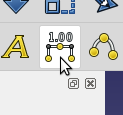
With nothing selected click the Draft-Measure Tool
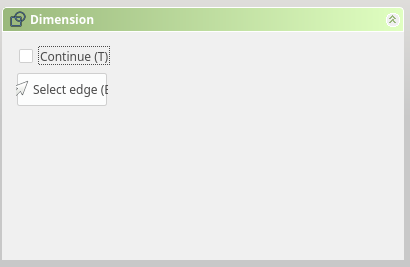
From the Tasks Tab ( Dimension Dialog ), Click the Select Edge Button
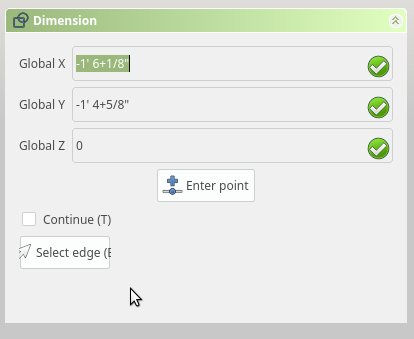
When you move to the drawing, the “Enter Point” section will dis-appear leaving only the Continue, and Select Edge:
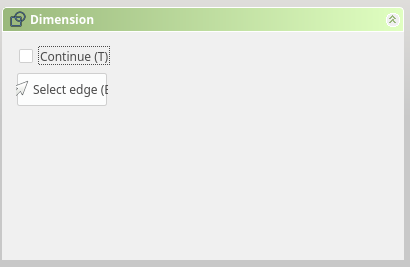
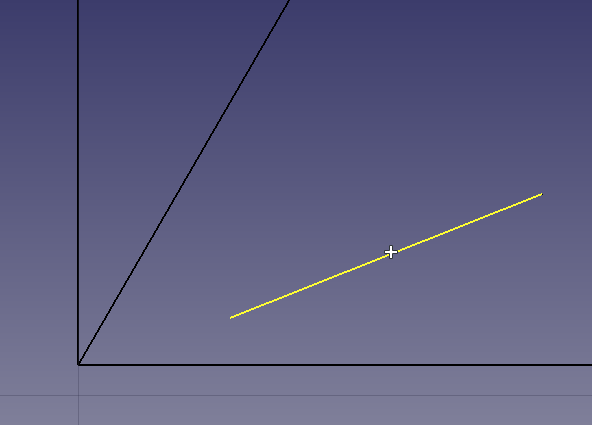
Select the First Edge
Click the Select edge button a Second time:
Select the Second Edge
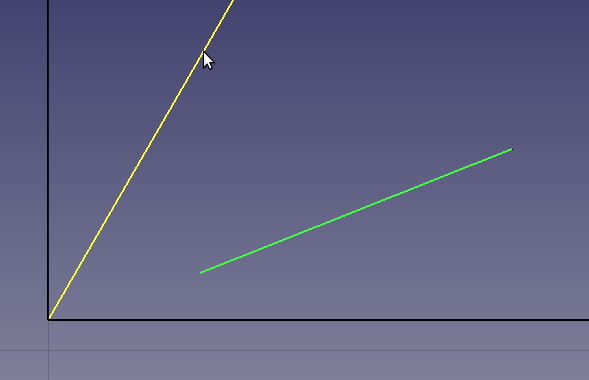
After the second edge is selected, you will have an arc that represents the placement of the Angle measurement.
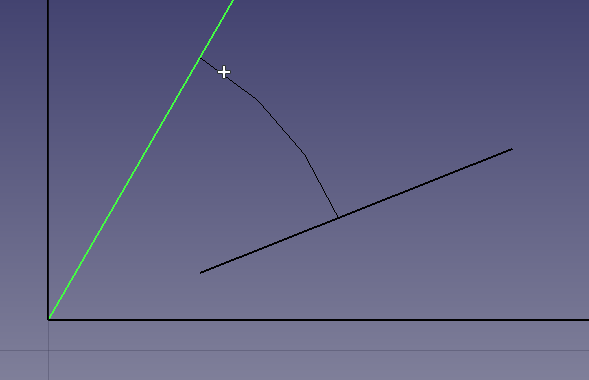
Drag the Arc around to position, then click to “drop it in place.
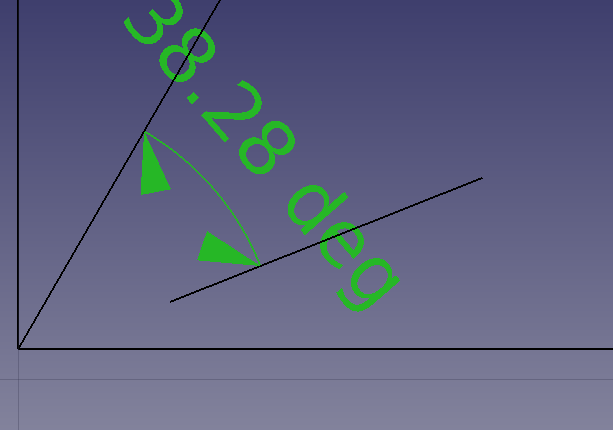
The arrows can be changed using the “Conbo View” by selecting the Viewtab in and change the value to the right of “Arrow Type”
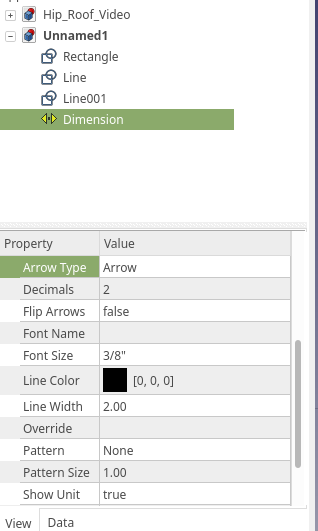
Here I have selected the “Dot” Arrow Type:
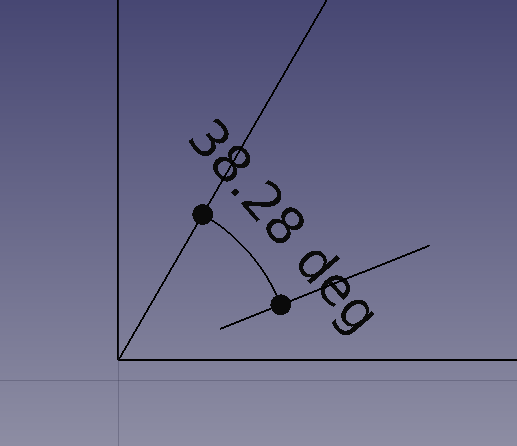
You can adjust the postion of the Dimension you just created the editing the “Dimline” property.
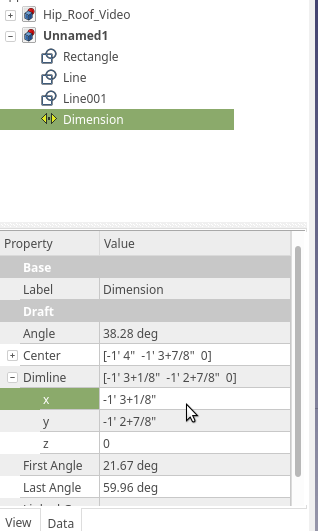
The value for the Dimline describes a point at X, Y which will inform the radius of the dimension from the center point of the Arc.
Below is a Angle Measurement of 45 deg. Each of my blocks are 1″, You can see the Dimline is at X 2″ and Y 1″

The second has a Dimline at 3″,2″. The position on the arc is arbitrary. it simply describes to distance from the center of the Arc, thereby giving us a Radius.

Hope you enjoy, have fun measuring your angles !