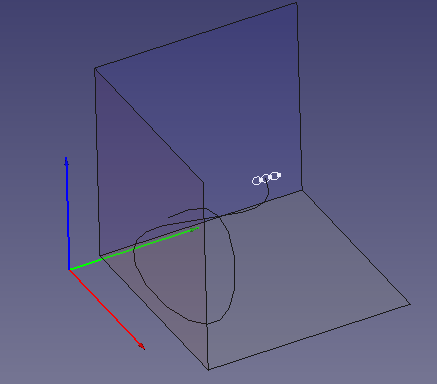
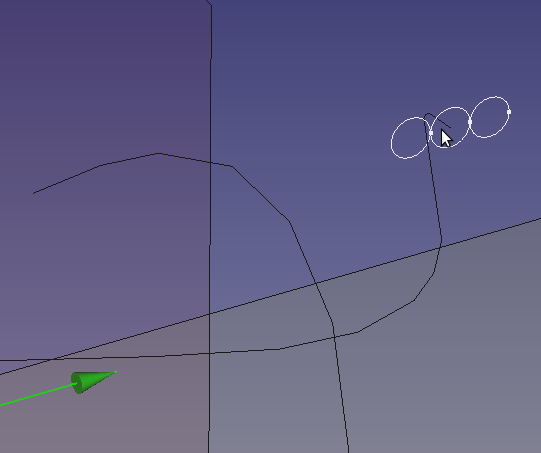
In Part One, I explored creating wiring using only the pre-installed workbenches and FreeCAD. This approach is difficult and remains difficult for editing. The major limitation is the inability to easily Sweep along multiple, B-Splines or other curves. An additional difficulty is revealed in editing, each curve is limited to a single plane, as a result, wires that have complex three dimensional paths become undesirable. The Curves Workbench solves much of this difficulty.
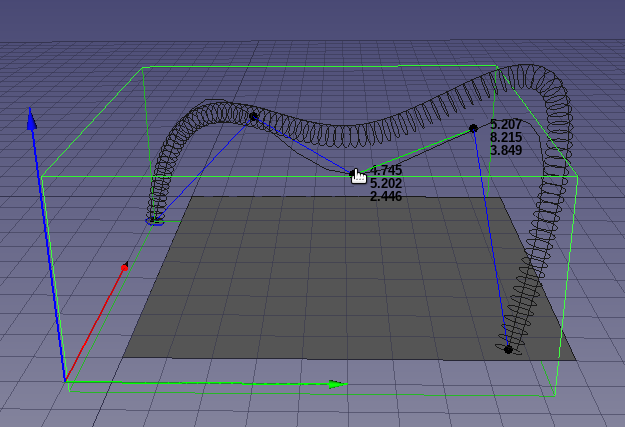
Installing Curves
My experience with installing curves had a few hiccups but was otherwise not terribly difficult.
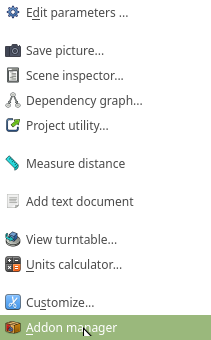
Begin with the Add-on Manager, from the Tools main menu.
Select and install the Curves WB ( Mine shows it installed )
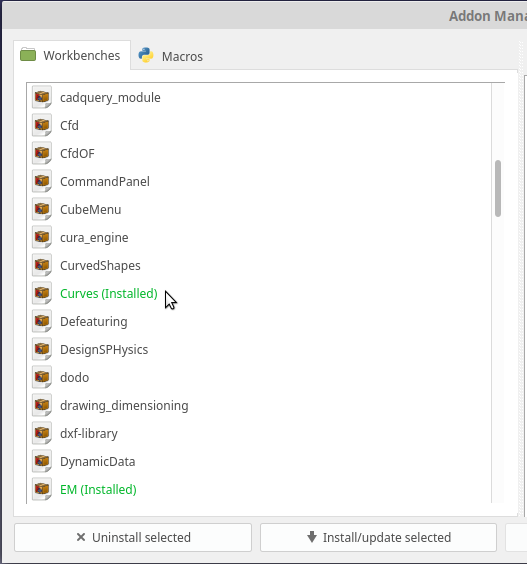
Close the Add-on manager and restart FreeCAD
Select the Curves WB from the Workbench Selector ( it will likely be at the bottom )
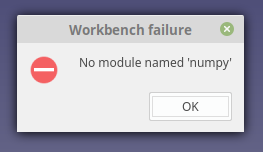
If you get the error: No Module named ‘numpy’, this is how I saloved that.
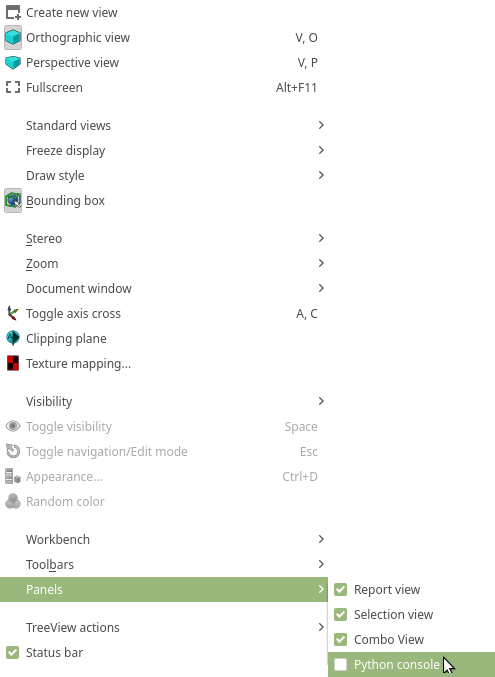
Select the Python Console tab in FreeCAD ( normally at bottom ), if you dont see it turn it on in the View Menu
We are going to find the Python version and Path you are using
From the console we will import sys and print sys.path, but this is hard to read.
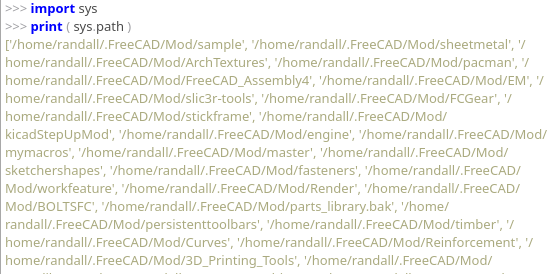
Instead we will loop through the paths and print them:
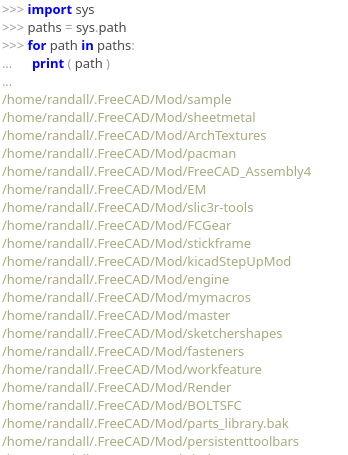
The important bit is down at the bottom.
Shows us which Python is being used.
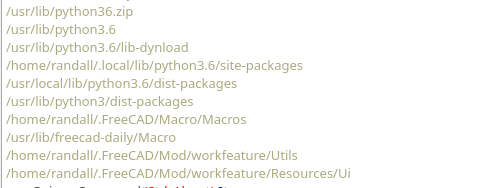
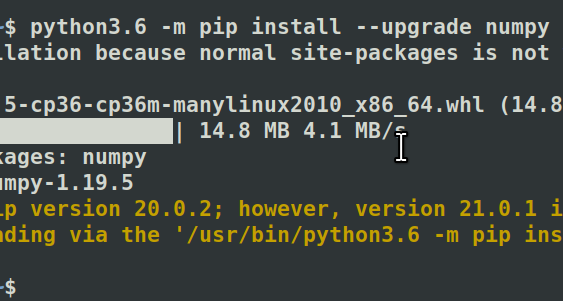
Now install numpy using that version of python.
The command for me was:
python3.6 -m pip install --upgrade numpy
Creating you First Wire:
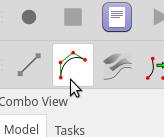
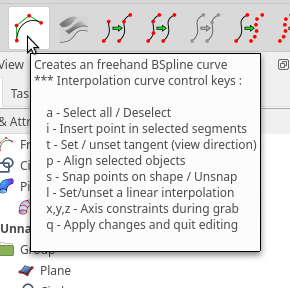
Using the Freehand B-Spline
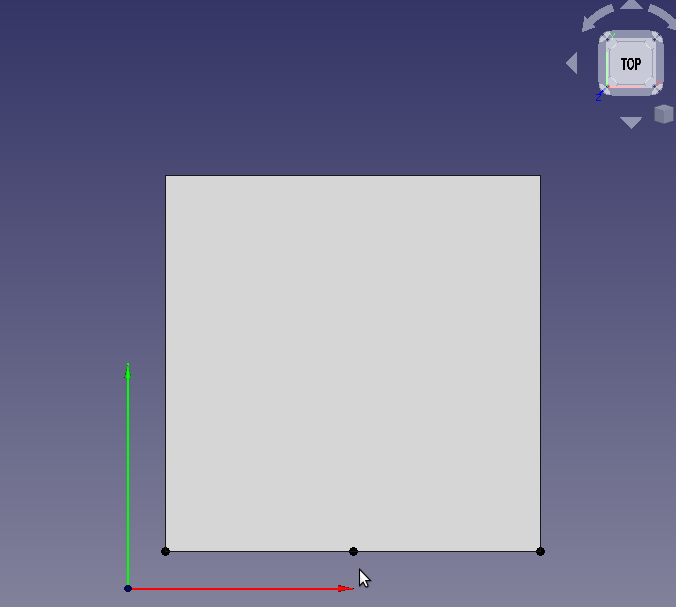
Set your view from the “Top”, editing the B-Spline while facing a cardinal direction will make the whole process quite a bit more friendly. I have included a model to help visualize the space a little.
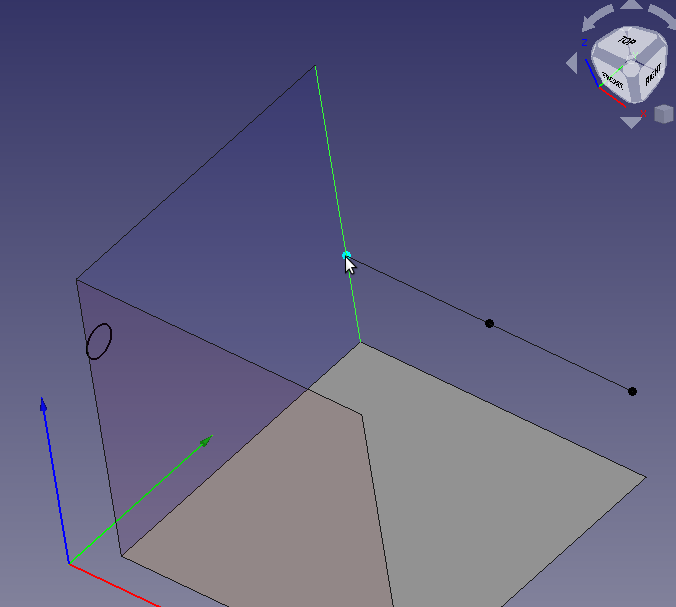
Clicking the tool will add a 3 node B-Spline to your document. The spline will be placed from 0,0 along the X axis. If you select a line the spline will be added at the selection point but oriented along the global X.
When the B-Spline is inserted it will remain in edit mode, hover over the tool to get the shortcut commands, these are extremely usefull.
The commands only work when the View area is active. So if you find the command not achieving the expected result click on an empty space in the View area.
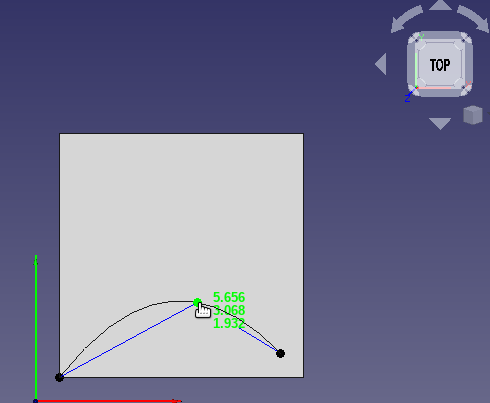
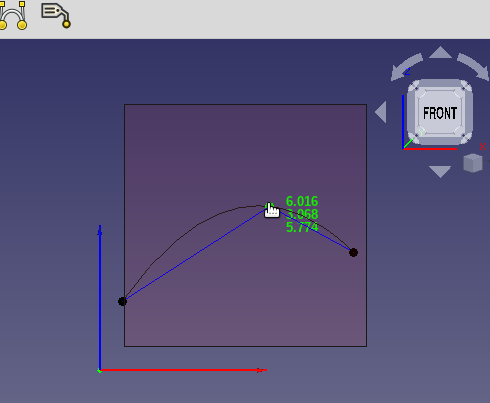
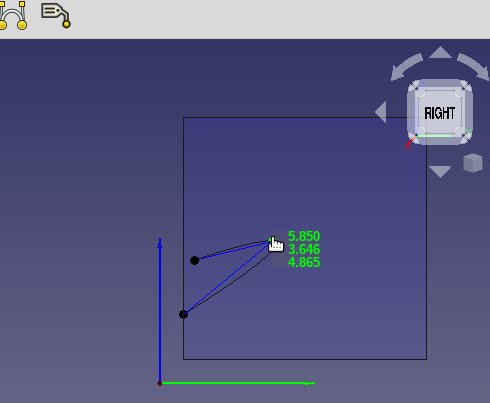
You can simply drag the Nods to position them, but keep in mind you are dragging them on a 2D surface, the surface is defined by the CURRENT VIEW, not the working plane.
To move in the XY plane: Select TOP
To move in the XZ plane: Select Front
To move in the YZ plane: Select Right
I want a wire with a few more control points, to get more points select the “Construction Line” for the segment you wish to add Control points and press the letter “i” on your keyboard. To delete the Control point simply click the point and press delete.
I need to simpumate wires entering objects so I will need the ends of the B-Spline to be tangent. The shortcut key sets the Tangency to the current view. To unset Tangency press the “t” shortcut key a seoncd time.
The Tangency is “In” from your Face to the Screen ( if that makes any sense ).
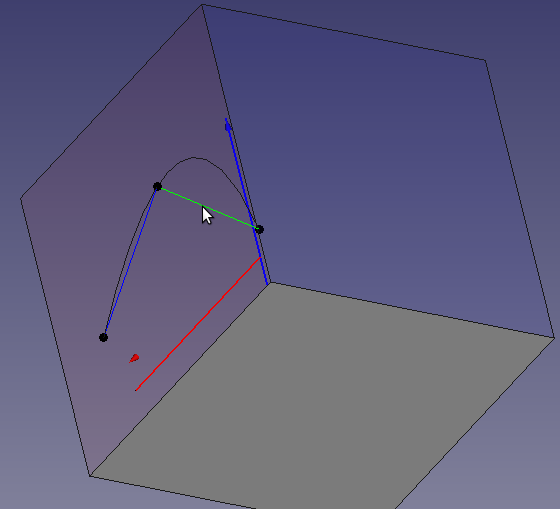
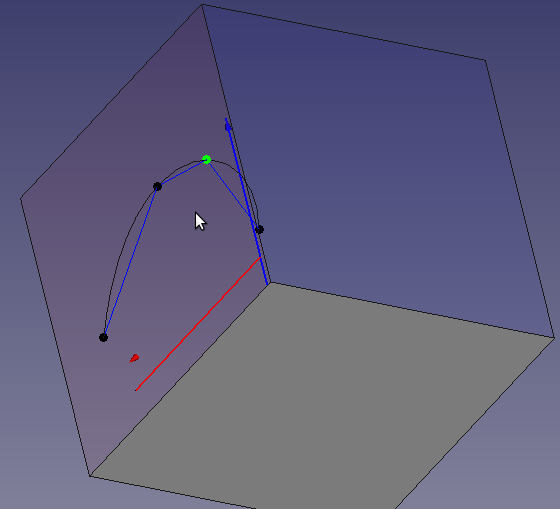
The following two figures show the Tangecy set on the Vertex while facing the “Right” view then the “Left” view. Notice how on the left view the B-spline exits our shape then returns to tangency.
For this article I am simulating running a wire from the top of a “Wall” down along the edges and out the side of another “Wall”
When you have all you wire positioned add a sketch for the profile Using the Sketcher Workbench create a Sketch with a circle. ( The Working plane does not matter as it will be mapped to the end of the B-Spline )
Using the Map Mode ellipsis, select Vertex1 of the Wire ( the Sweep goes in the direction of the wire regardless of where the sketch is mapped. )
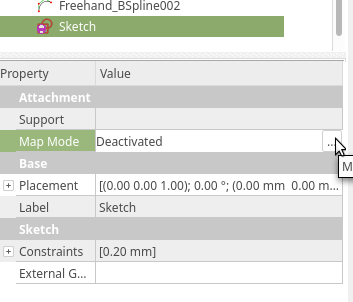
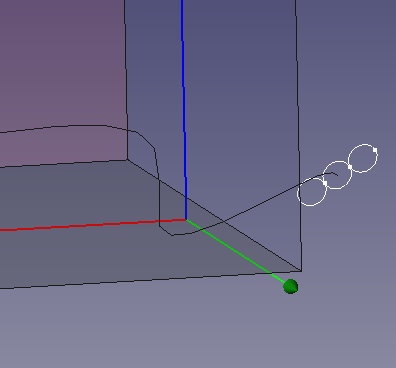
Now lets create the Pipe Profile.
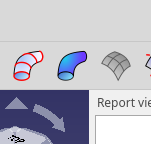
Select your sketch in either the Tree View or in the Model and click the profile icon:
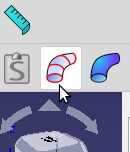
This will add a profile object to your models history tree. The Profile is parametrically tied to the sketch.
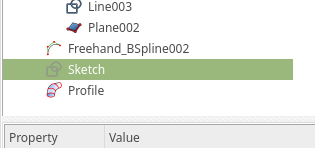
To create the final wire select the BSpline graphically from the View windows and Control-Click the Profile in the History Tree. With both selected Click the Pipe Tool
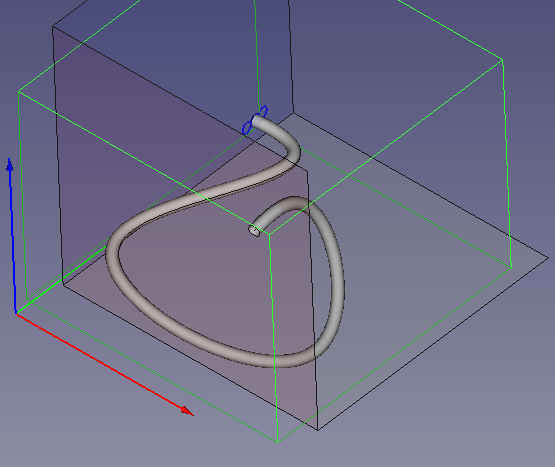
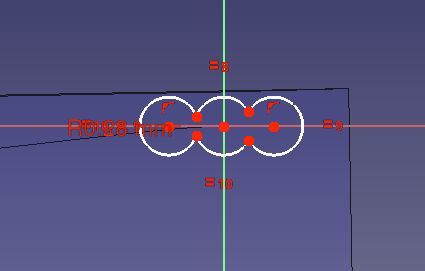
For my first attempt only the central circle was swept. In order to get a, ribbon of wires the profile has to have a single enclosed area.
If the sketch is modified slightly we can anchieve the desired result:
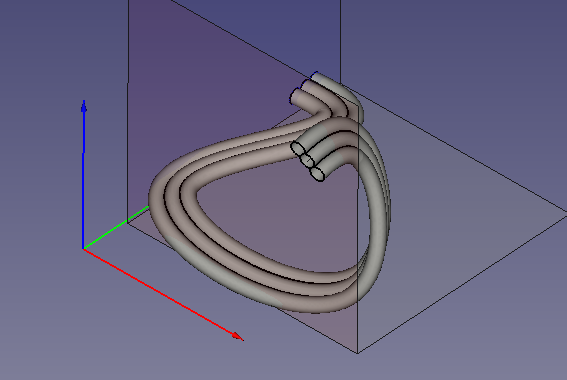
The Pipe should be updated to have 3 “wires”
Quality Note:
While working with the pipe it is a good idea to keep your Deviation setting at .5. In my diagrams I am showing it at .1. The differences is shown here.
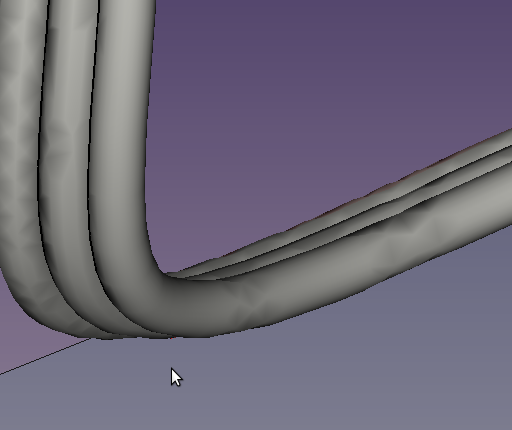
Pipe with .5 Deviation 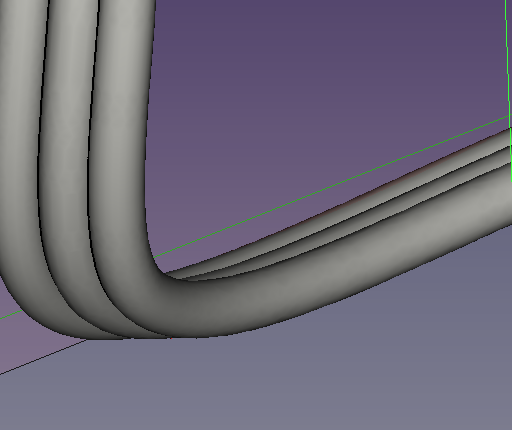
Pipe with .1 Deviation
