The FEM Articles are a Work in progress. Check back as they get updated over the next few weeks.
The FreeCAD FEM Workbench affords the FreeCAD user an increasingly impressive set of tools to aid in Finite Element Analysis.
The FEM Workbench consists of multiple tools used to complete the needed Analysis.
Pre-Requisites
- An installed solver: Calculix
- An installed mesher: gmsh
- Python Module Installed and working: numpy
The FEM workbench currently has tool sets for:
- Material Selection
- Mesh Creation
- Load/Stress
- Temperature
- Fluid
The FEM Model Toolbar

The Model toolbar is used to setup your analysis. Every analysis will be contained in the “Analysis Folder”. When an analysis is created a solver is automatically added. Each analysis will need a material and the appropriate selection. For example a beam cross-section for mechanical analysis
The FEM Solver Toolbar

Every Analysis needs a Solver. In the current version the two solvers supported out of the Box are Calculix and Elmer. These solvers perform the Calculus and other operations necessary to complete the FEM Analysis.
The FEM Mesh Toolbar

Analysis is carried out via a mesh. The mesh represents the underlying shape. In order to carry out an analysis you need a Mesh.
The FEM Mechanical Constraints Toolbar

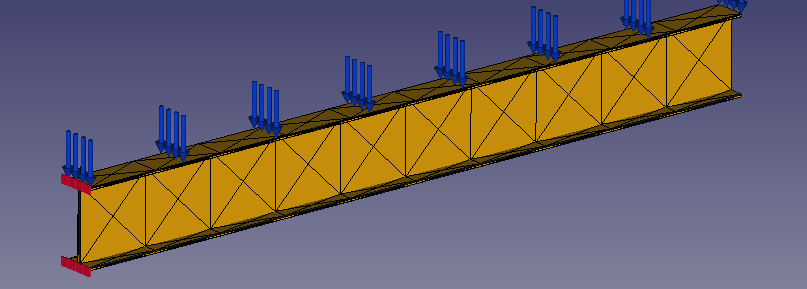
The Mechanical constraints Toolbar provides tool for fixing a Mesh mechanically in position or for adding forces applied during motion/stress. Also, included are tools to apply the various forces.
Setting Up Notes
In order to use the FEM Analysis Workbench some setup is required. You must install the Solver ( Calculix ) and the Mesher (Gmesh ). These are external tools the FreeCAD and the FEM Workbench rely upon to complete the FEM Analysis.
Creating a Mechanical Analysis
A very basic step by step, showing the basic requirements to get a result.
- 1.) Create a FEM Analysis Container
- 2.) Add the Calculix Solver
- 2a.) WRITE INP ( Initialize the Solver )
- 3.) Add a Material
- 3a.) Select Material
- 4.) Add a Mesh
- 4a.) APPLY Mesh
- 5.) Add Constraints
- 5a.) Add ConstraintFixed
- 5b.) Add ConstraintPressure
- 6.) Select Solver and Run Analysis
Create a FEM Analysis Container
Each FEM “Analysis” is an operation within the analysis container. In a document with the objects to be evaluated, a single click on the large yellow A will create the container.
Add the Calculix Solver and Initialize
The default solver is added for you by the work bench.
Add a Material
The material tells the solver what your object is “built” with. The FreeCAD FEM Workbench has materials predefined for Steel, Wood, Glass, Plastic and a few others. You can also define your own material.
The material card defines properties like the materials basic density, it’s mechanical properties and thermal properties.
To add a material select the yellow sphere from the model toolbar.
Select the Material
It is necessary to make a material selection prior to solving. The current default selection is the Material associated with the Document, which is not defaulted at the time of writing.
Choose a the material that best matches your need, here Steel-S380MC, is chosen.
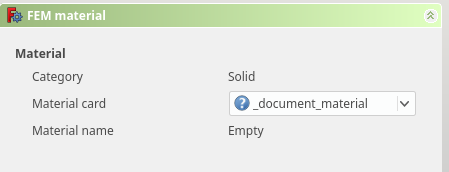
Default Value 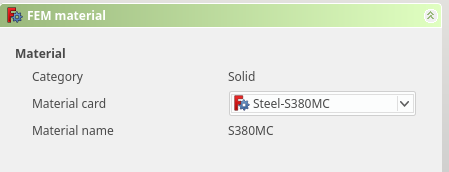
Steel Chosen
The material is chosen using the “Material Car” combo-box.
Add a Mesh
The mesh encapsulates the object for which you are performing the analysis. It is an approximation of your object.
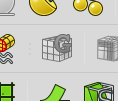
To add a mesh select the object you would like to approximate, you will need to first select the object. The G-Mesh tool will not be available until a valid selection is made.
The Yellow GMesh cube will change from greyed-out to colors, and can now be selected.
The Combo Tab, Tasks Tab will become active, for the basic mesh operation click the “Apply” button at the top of the Tab.
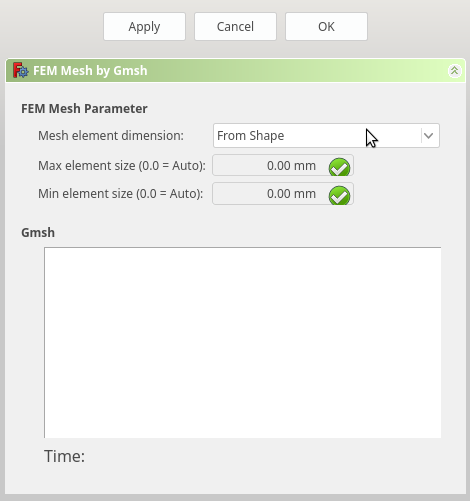
If you have Gmsh installed and it is working correctly, the Gmsh output window will populate with the results.
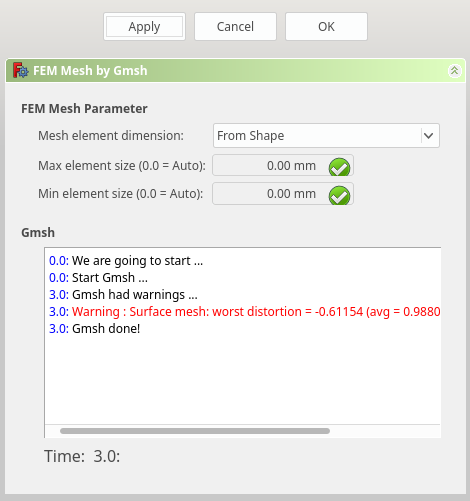
If you receive a final “Gmsh done” message you will be able to achieve an initial result, even with warnings.
Click OK to finish the task.
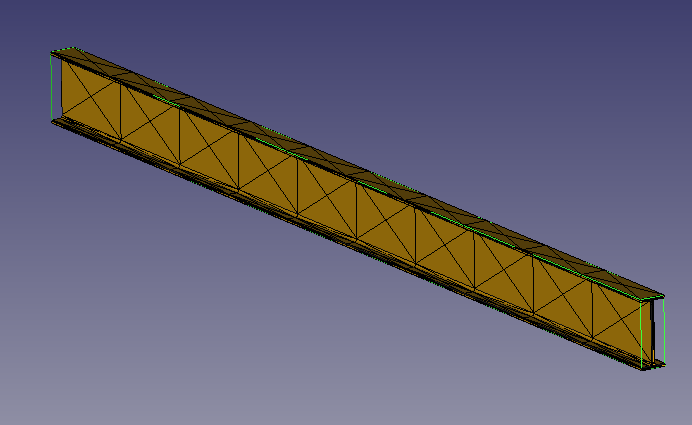
By default the Mesh will not be shown. If you would like to see the mesh select the item in the history tree and press the space bar.
Add Constraints
Add ConstraintFixed
Add ConstraintPressure
Select Solver and Run Analysis
Make the Analysis to be run active by double clicking. It should be highlighted in blue.
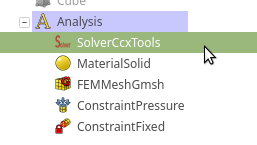
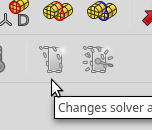
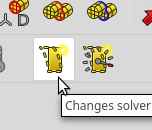
Select the Solver, the run tool will now change from unavailable to available. Click the Run Solver tool.
Running the solver will open the “Mechanical Analysis” Task. IF no changes are needed click the “Write .inp file” button.
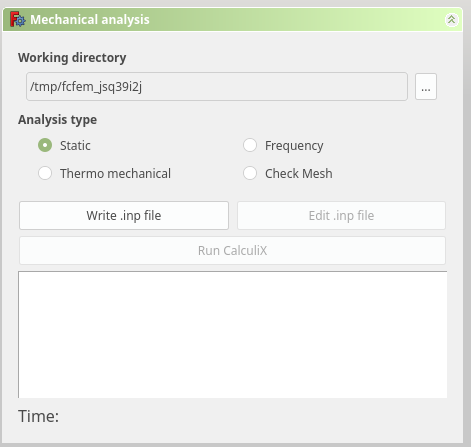
If all the pre-requisites are correct, you should get 2 message in the “Mechanical analysis” output window. ” “write completed” indicates a succssful configuration, and you can now select the “Run CalculiX” button.
