The Linear Pattern Feature adds an array of Features to an existing body. The Linear Pattern Feature is distinct from Draft Arrays, as it does not create individual entities, rather, it adds features to a body to build it up.
The Linear Pattern Feature only allows a single feature per pattern. The pattern can only extend in a single direction ( axis ).

Adding a Linear Pattern Feature
To begin you will need a basic Body containing a padded sketch with a rectangle. The rectangle should be approximately 100mm x 50mm. Place a second sketch with a circle in the lower corner of the top of the pad.
NOTE: Learn to create a Body and Sketch here and how to add a Pad here.
Step 1.) Select the Feature you wish to base the Linear Pattern. You can select items like a Pad, Sweep, Pipe and Revolve. The feature can be additive of subtractive.
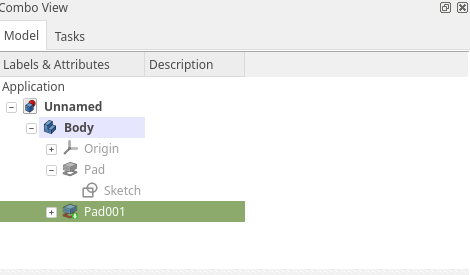
You can select the feature by highlighting it in the Combo-View Model Tree or by clicking the feature in the document window.

Step 2.) With the item selected click the Linear Pattern Tool
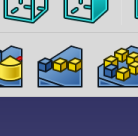
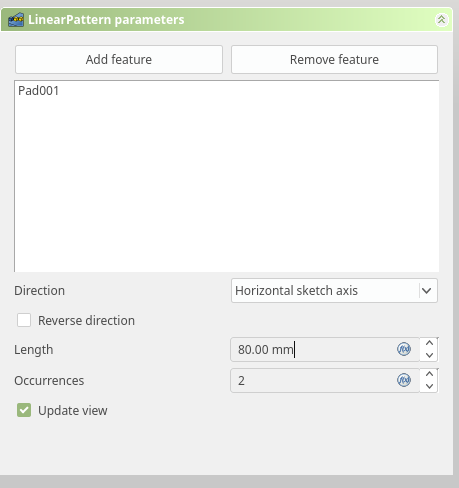
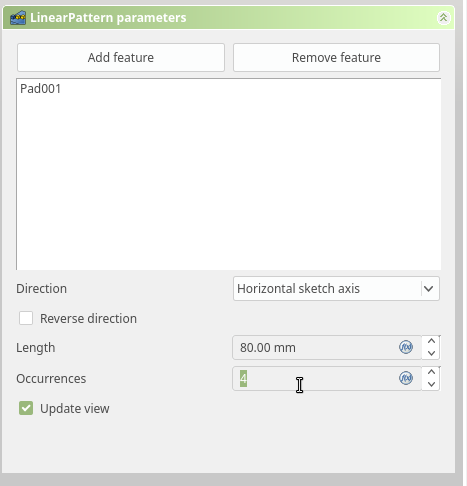
The Combo view will switch to the Tasks tab and you can set the details of the pattern.
Invariably the default is longer that the object you may be working on, when any part of the Linear Pattern is not contiguous with the Body, the pattern will fail and the offending item will be red.
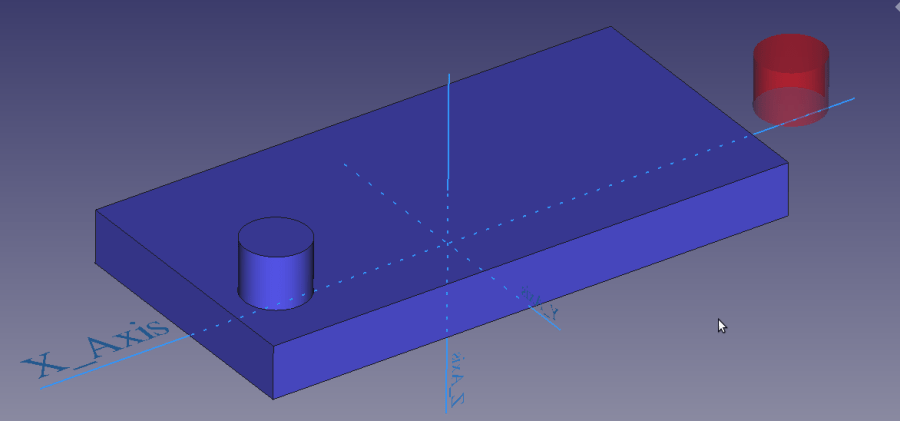
Step 3.) Set the length of the patter to 80. The length will be the entire length of the pattern, the distance from the first occurrence to the last occurrence. It is also important to note that the distance is based on the origin of the feature, so if the feature is circular it will be at the center.
Your design should be updated and reflect the new position of the pattern.

Step 3.) Set the number of occurrences of the feature. Notice how the model changes as you update the value.
It is fairly simple to create Linear Patterns in Part Design. Keep it simple an you wont be dis-appointed.
