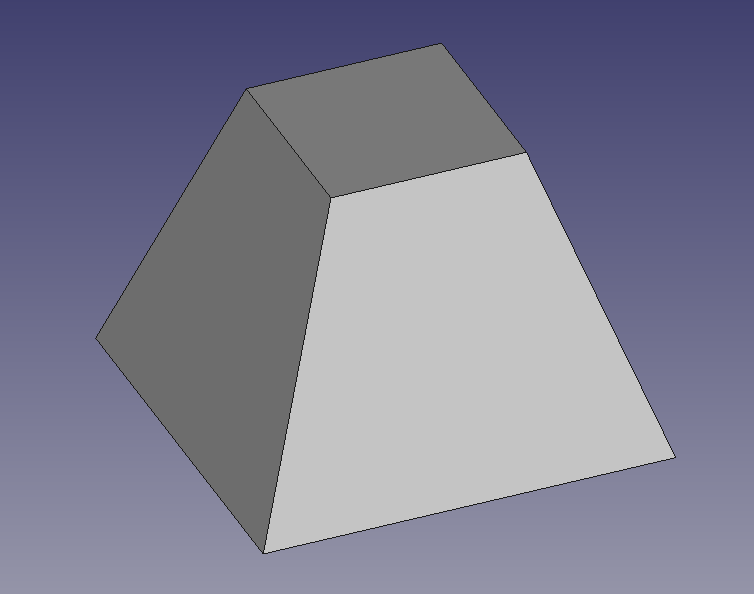
The Part Design Loft command will join two sketches to create a solid. The loft creates faces between two shapes with compatible edges. The edges need to form a face.
You can watch a video version of this here:
To create a loft you will need two sketches that have an offset.
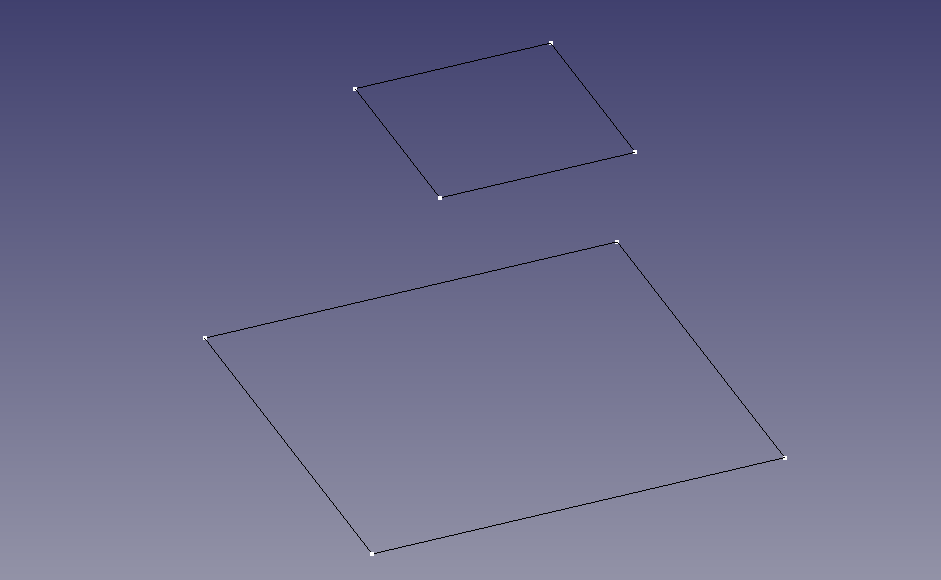
If you need to learn how to make a sketch head over to Your First Sketch Make sure the sketches are based off the Global XY PLane ( don’t preselect a face )
Position the Sketch
Select the sketch of the smaller square in the Model Tab / Tree
In the Property window of the Model Tab of the Combo View, select the Data Tab ( whew that’s a mouthful ).
Click in the value box of the Attachment Property, click on the Ellipsis
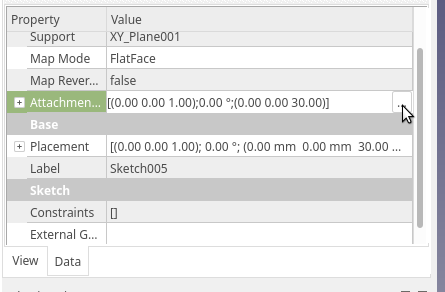
Use the Placement Dialog to move the sketch on the Z-Axis. As you change the value you should notice the sketch moving in the Document window.
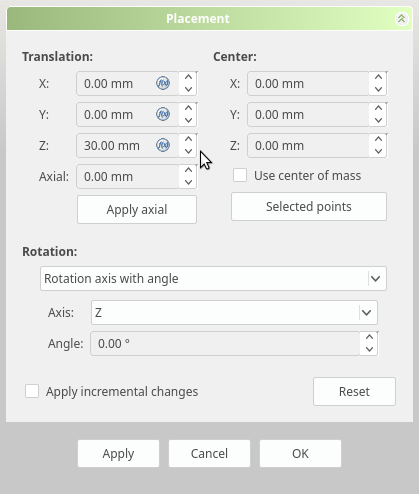
Click OK, when you have adjusted the Z value.
Adding the Loft
Select the Sketch with the larger square and click the Loft Tool
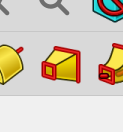
Click the Add Section and click an edge on the smaller square, You should now see a translucent loft.
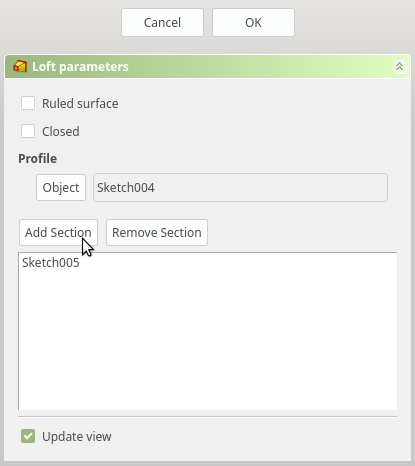
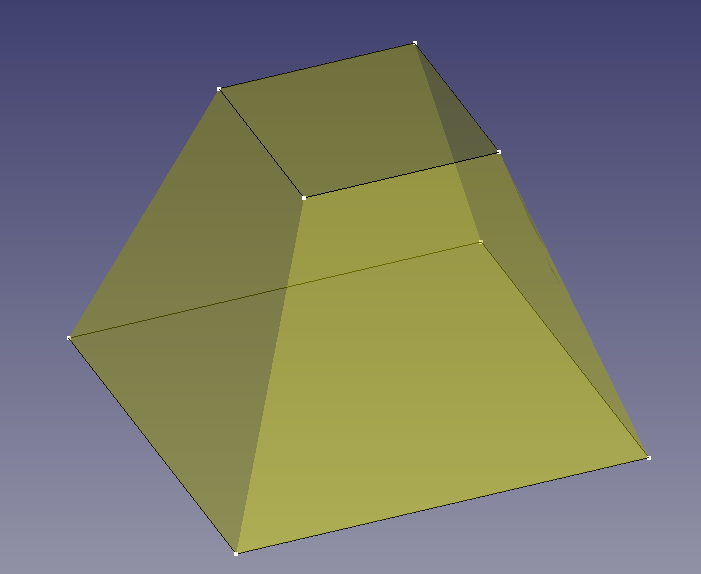
Now finalize the loft by clicking OK in the Tasks tab.
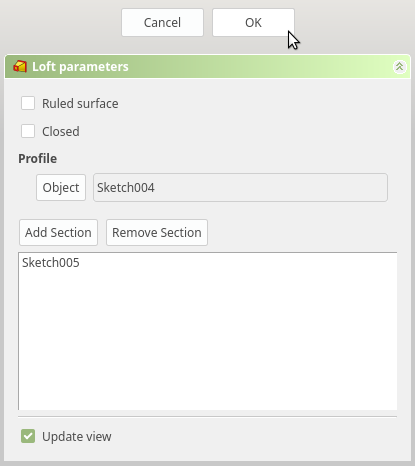
You should now see an “AdditiveLoft” in the Part Design Body, and have a fully formed object in your document.
