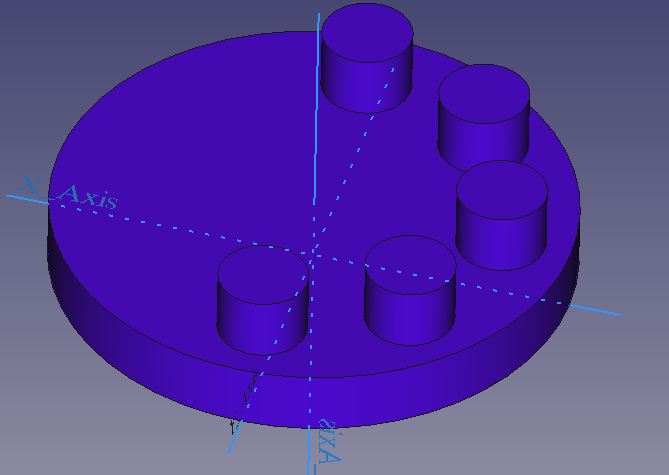
The Polar Pattern Feature adds a circular array of features to an existing body. The Polar Pattern Feature is more or less a sub-set of what is a available in the Draft Array version of the Polar Array.
The Polar Pattern Feature only allows a single feature to patterned around a single axis.

Adding a Polar Pattern Feature
To begin you will need a basic Body containing a padded sketch with a circle. The circle can be any radius. Place a second sketch with a circle any where within the first circle near the edge.
NOTE: Learn to create a Body and Sketch here and how to add a Pad here.
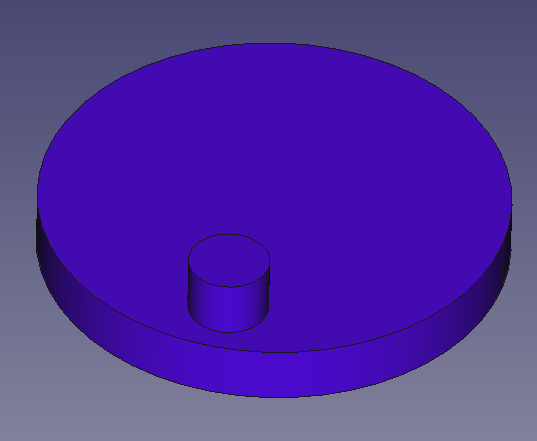
Step1.) Select the Feature you wish to base the Linear Pattern. You can select items like a Pad, Sweep, Pipe and Revolve. The feature can be additive of subtractive.
In our case it will be the Pad of second Sketch, it should be named Pad001. From the document window you can click on the face of the Pad.
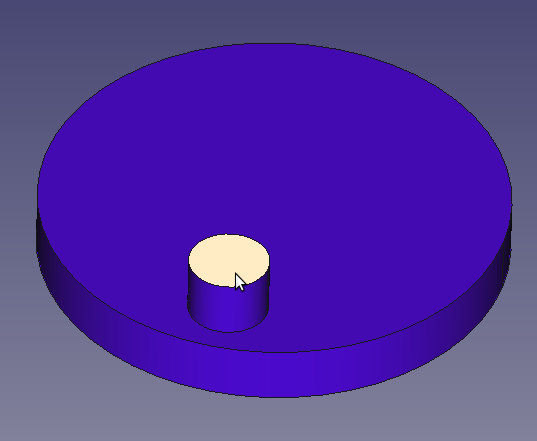
From the Conbo View / Model Tab select the Pad001 from the History Tree.
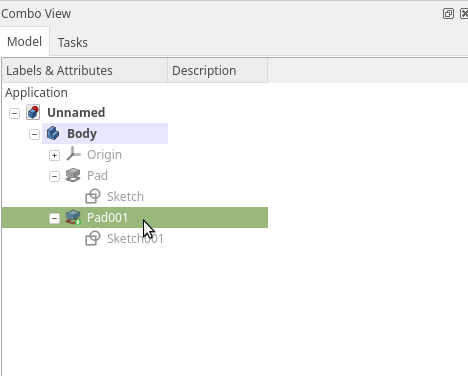
Make sure you are in Part Design Workbench and have the Active Body selected for the Pad001. Select the Polar Pattern Tool.
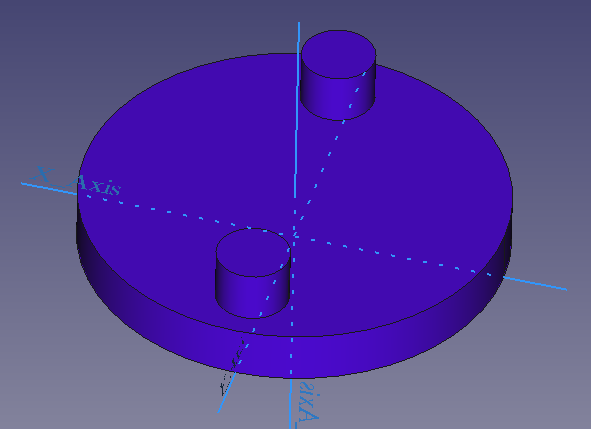
For this example the Z axis of the sketch, which also happens to be it’s “Normal” access is selected. This is the axis we will be using for the polar array. The model will update to show a second feature.
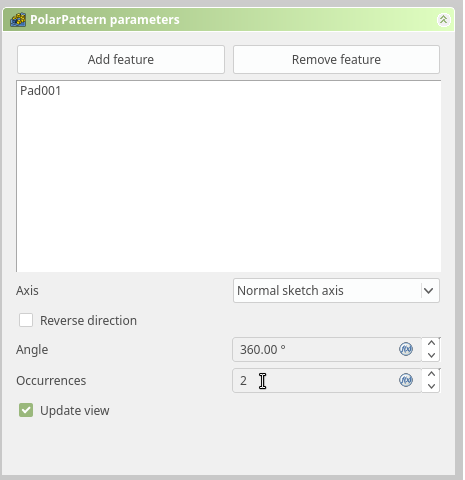
Increase the number of occurrences to meet your need.
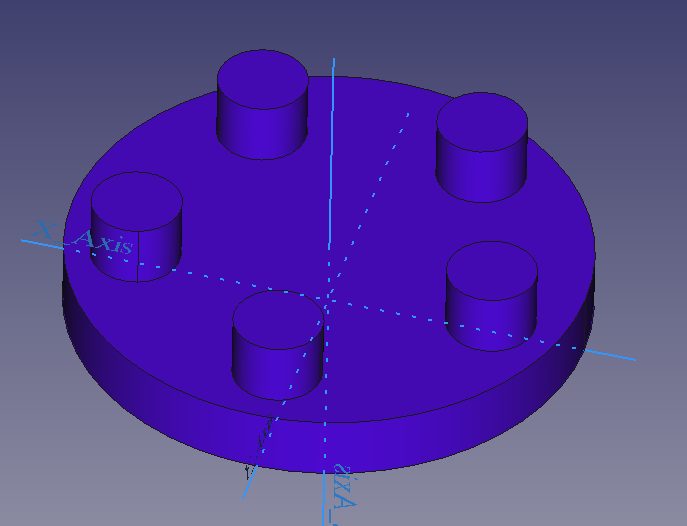
The model will update as you change the occurances, keep in mind that arrays in Part Design are computationally expensive and it is wise minimize thier use.
Additionally it is possible to limit the arc to which the array will be distributed. By setting the Angle we can limit where the features will be added.
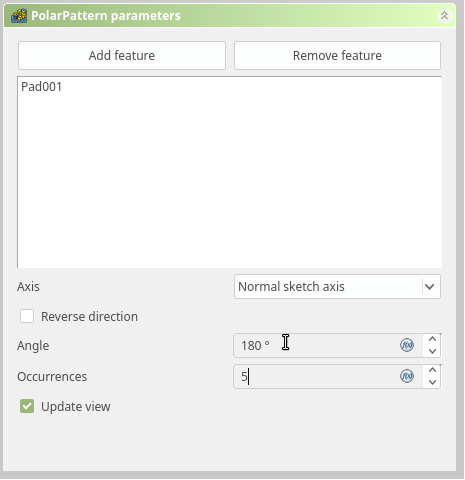
Note that the starting position and ending position on the arc will coincide with the origin of the feature. For a Pad that will be the origin of the sketch.
